
Download and configure Google Play Services Library in Eclipse
Google Map for Android is now integrated with Google Play Services. So we need to set up Google Play Service Library for developing Google Map application in Android.

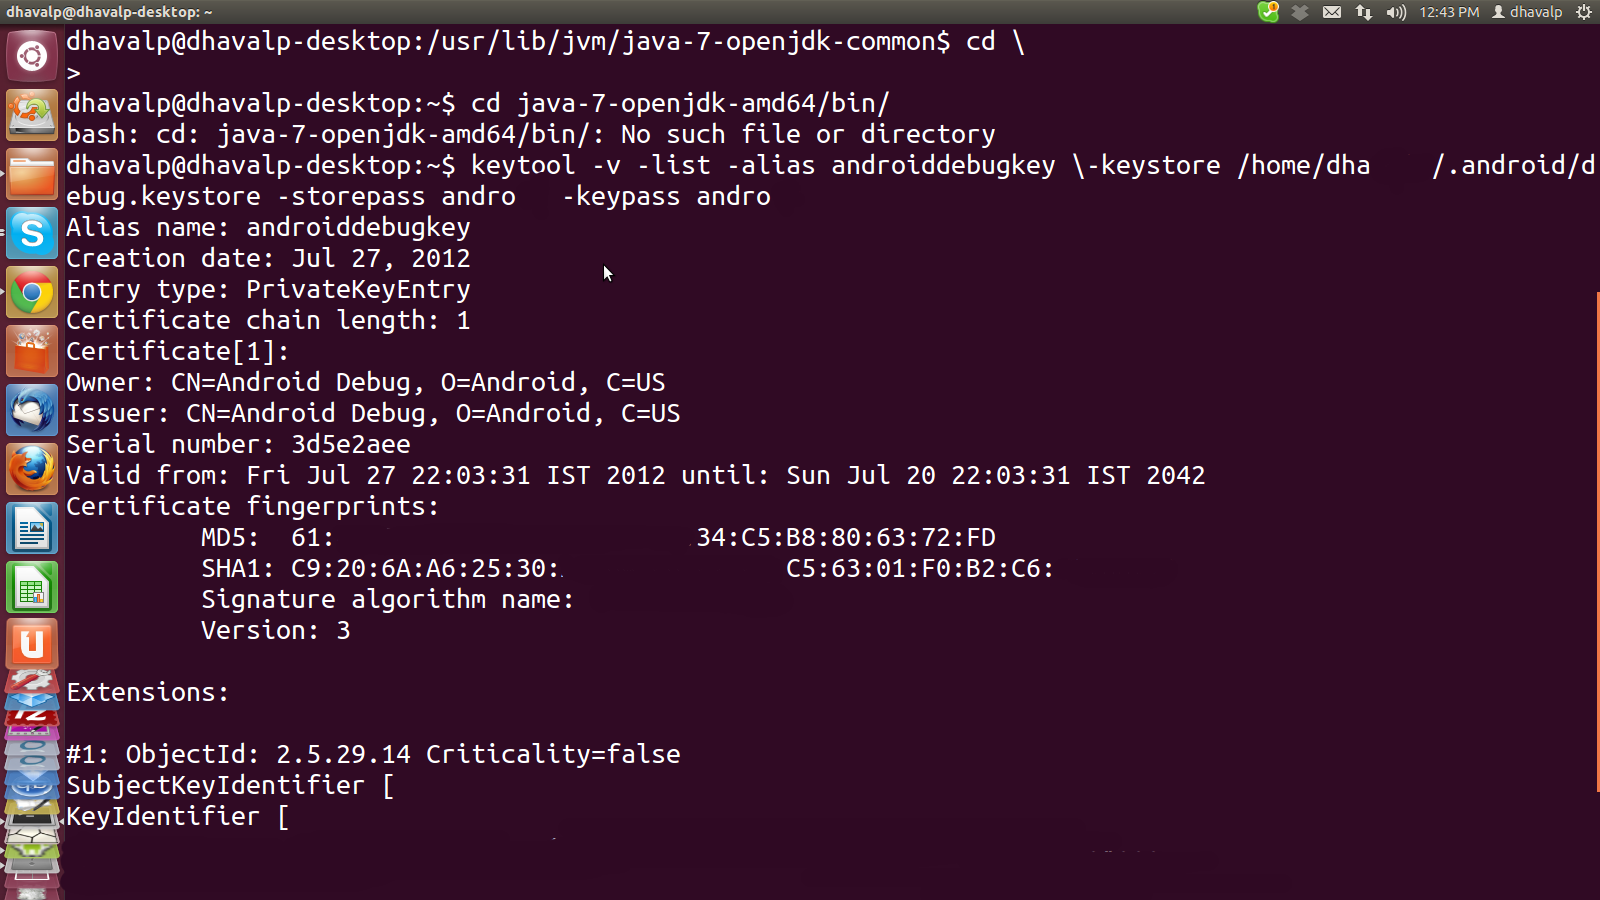
Get the API key for Google Maps v2:
Linux :
For any other OS use this :
 keytool -list -v -alias androiddebugkey \
 -keystore <path_to_debug_keystore>debug.keystore \
 -storepass android -keypass android
Register with the Google APIs Console : Google APIs Console
Select here the Services entry:

Activate the Google Maps Android API v2.
Register your application via its package in this console together with the SHA-1 fingerprint of your signature key.

Click on Create new Android Key..

Add you SHA-1 and your package name in to box like example given in alert box.
Support library : Android support library (android-support-v4.jar ) is added to this project by Eclipse IDE to the directory libs.
Now,
 Add Play Services Library in project :
 Eclipse > import > Android > Existing Android code in to workspace
 Browse you SDK path like ~/android-sdk-linux/extras/google/google_play_services
 import that project in to workspace
EDIT : 28/03/14 : if you have google play services rev 13 and more then use below lines in android manifest file.
 <application
 ...
  <meta-data
   android:name="com.google.android.gms.version"
   android:value="@integer/google_play_services_version" />
 </application>
Create New Android Project and flow below step:
Add library project in to new Project : Project > properties > android > in library section > Add > google_play_services
now in your manifest file :
 <?xml version="1.0" encoding="utf-8"?>
 <manifest xmlns:android="http://schemas.android.com/apk/res/android"
   package="com.djandroid.mapsv2"
   android:versionCode="1"
   android:versionName="1.0" >
   <uses-sdk
     android:minSdkVersion="8"
     android:targetSdkVersion="16" />
   <uses-permission android:name="android.permission.INTERNET" />
   <uses-permission android:name="android.permission.ACCESS_FINE_LOCATION" />
   <uses-permission android:name="android.permission.ACCESS_COARSE_LOCATION" />
   <uses-permission android:name="android.permission.WRITE_EXTERNAL_STORAGE" />
   <uses-permission android:name="com.djandroid.mapsv2.permission.MAPS_RECEIVE" />
   <uses-permission android:name="com.google.android.providers.gsf.permission.READ_GSERVICES" />
   <uses-feature
     android:glEsVersion="0x00020000"
     android:required="true" />
   <application
     android:allowBackup="true"
     android:icon="@drawable/ic_launcher"
     android:label="@string/app_name"
     android:theme="@style/AppTheme" >
     <activity
       android:name="com.djandroid.mapsv2.MainActivity"
       android:label="@string/app_name" >
       <intent-filter>
         <action android:name="android.intent.action.MAIN" />
         <category android:name="android.intent.category.LAUNCHER" />
       </intent-filter>
     </activity>
     <meta-data
       android:name="com.google.android.maps.v2.API_KEY"
       android:value="API_KEY" />
     <uses-library
       android:name="com.google.android.maps"
       android:required="true" />
   </application>
 </manifest>
you layout file:
<RelativeLayout xmlns:android="http://schemas.android.com/apk/res/android"
   xmlns:tools="http://schemas.android.com/tools"
   android:layout_width="match_parent"
   android:layout_height="match_parent"
   tools:context=".MainActivity" >
   <fragment
     android:id="@+id/fragment1"
     android:layout_width="match_parent"
     android:layout_height="match_parent"
     class="com.google.android.gms.maps.SupportMapFragment" />
 </RelativeLayout>
Main Activity :
 package com.djandroid.mapsv2;
 import android.app.Activity;
 import android.os.Bundle;
 import android.support.v4.app.FragmentActivity;
 public class MainActivity extends FragmentActivity {
      @Override
      protected void onCreate(Bundle arg0) {
           // TODO Auto-generated method stub
           super.onCreate(arg0);
           setContentView(R.layout.activity_main);
      }
 }
You have to test the application on a real device as the emulator is not supported.
Download Full Code of PART-1,2,3,4
—
Tuesday, February 19, 2013
—
Add Comment

Belum ada tanggapan untuk "Android - Google MAP V2 PART 1"
Post a Comment